We Are Back to Open As Normal

In case you’re not aware. We’re open to the public:

  • Every Tuesday Evening from 7pm
  • Every Second Saturday of the Month 11am to 4pm-ish

Times can vary a little and they tend to go on as long as there’s a 24/7 member present that keeps the Hackspace open to non-members or non 24/7 members (sometimes referred to as keyholders)

Posted in Blog | Leave a comment

Almost there…

Hello everyone, we hope you’re well and keeping safe and healthy.

Updates on opening are posted to the mailing list.

For direct interaction, be sure to join the Slack channel, or IRC.

Posted in Blog | Leave a comment

Pewter Casting at the Hackspace

Under direction carve your design in Maltese limestone and cast your own pewter pin badge or button.

Bring along a design between 1cm and 2cm in diameter (it doesn’t have to be round) and transfer it onto the soft chalk like Maltese Limestone. Be creative, perhaps a dire wolf or Darlek but remember you need to flip your image as you’ll be working in reverse and in relief! Carefully carve away the stone testing your design on salt dough before finally casting it in pewter. Still not happy then carve a little more and try again until it’s just right.

There will be some demonstrations on other items cast including wax seals and medieval pilgrim badges. It will be light hearted and no skill is required, sometimes the best items are the worst ones! .

How much does it cost?
Free to members. None members if you can find an old pewter tankard from a car boot or charity shop (you can usually pick them up for £1 or £2). Perhaps a family member has an old sporting tankard that’s no longer wanted. The pewter is used to make events like this possible and allow me to do demonstrations for community groups for free or at little cost. If you can’t find one fear not a small donation to Leeds Hack Space will suffice.

A little bit of background.
I started pewter casting as I do medieval living history reenactment and wanted to demonstrate a trade in the way it was done in the 15th Century. The stone moulds I create and techniques used are all based on evidence I’ve researched from the period. I’ll be heating the pewter on a modern heater for the demonstration as charcoal isn’t the safest indoors. If you would like to know more just ask on the day.

Join us afterwards for drinks locally – to be arranged but expect it to be well into the evening.

Space is limited so please register your place on our event page. If you need to back out then please let us know as soon as possible to free up places for others.

Posted in Events, LHS Events | 1 Comment

Quick Layout: Four Hole Bolt Circle

You don’t always need a CNC machine or thousands of pounds worth of equipment to get the job done. Here, we’ll be laying out a 4 hole bolt circle suitable for mounting something like a stepper motor or bearing flange using just a ruler, compass and centre punch.

Mark out your material, and centre punch the middle. This will be the punch mark for the central spindle of our motor. Scribe a straight line through the centre in the orientation that you want for the first two of your holes. This is your base line.

Set your compass dividers to the radius of your required bolt hole and scribe your first circle. Centre punch the two intersections of your scribed line and the circle.

Set the dividers to around about the diameter of the bolt pattern, and then scribe a short arc either side of the baseline using each of the perimeter punch marks as a pivot.

Now that you have intersecting arcs on either side of the base line you can carefully scribe a line between them, ensuring that you head straight through the centre. Punch on the intersection of this new perpendicular line and the circle.

If you have a lot of further layout to do you can touch up an construction lines with the layout marker to keep the work space easy to understand. As with all these sort of things the amount of care you take when placing your punch marks, and setting the compass width, directly influences the quality of the end result. Use a magnifier if you need to!

Posted in Blog | Tagged , , | Leave a comment

Do Not Hack

Posted in Hackspace Land, UK Hackspaces, Worldwide Hackspaces | Leave a comment

Space Update: Nearly there

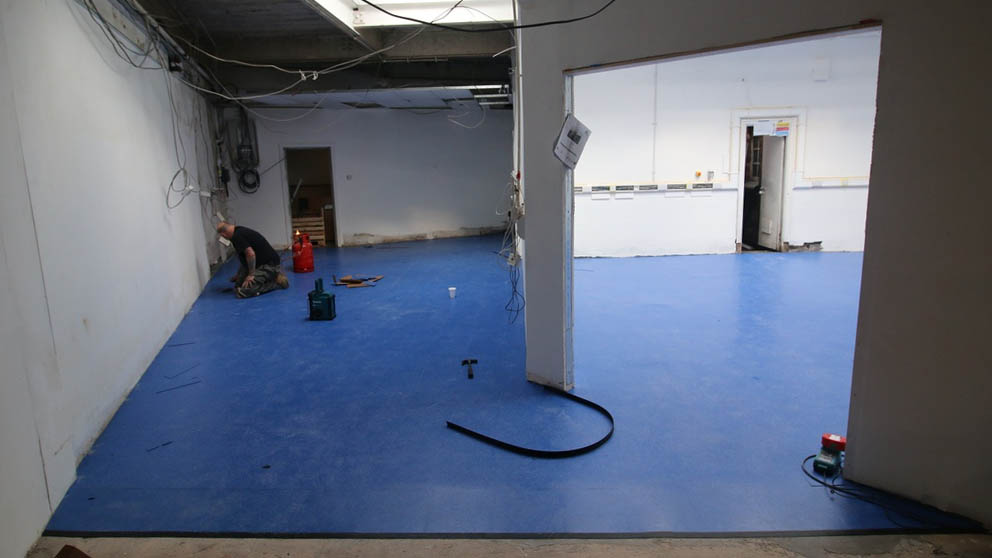
It has been a long time since our last update but that doesn’t mean that we haven’t been working hard. For those of you who haven’t visited lately it’s looking much less like a building site and we are getting closer to the Hackspace being “finished”. Yes, we really do deserve a good opening party.

Health & Safety

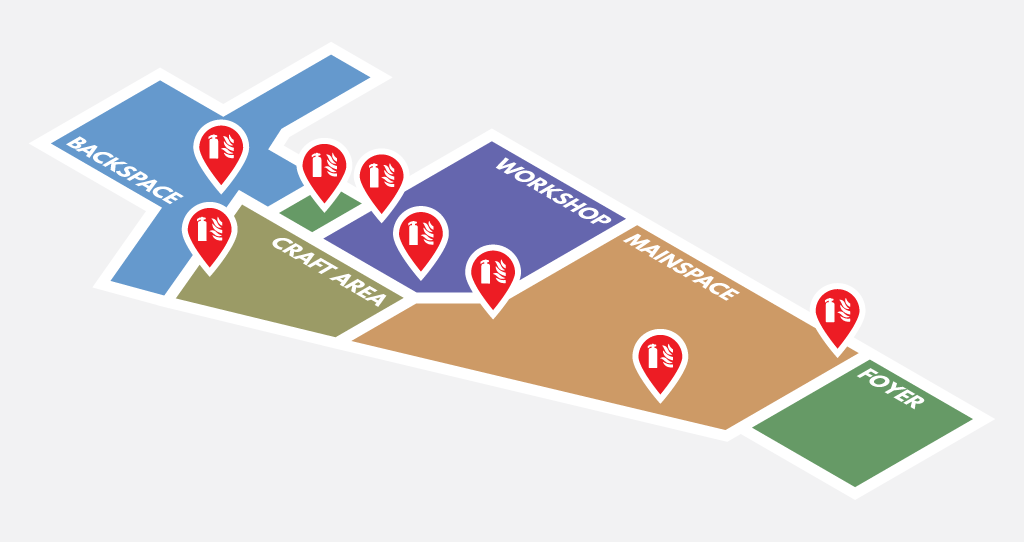
You may have noticed the fire extinguishers scattered around the Space. Please take time to familiarise yourself with them next time you are down and remember if you are not confident in their use before you see a fire, walking away and out of the building is recommended over choosing that moment to try and learn from the instructions on the side.

Map of Fire Extinguisher Locations

PPE has been made more obviously accessible in the Workshop and we are adding signage to offer guidance on when usage is appropriate.. We are also looking to fit an extraction system so we can move the Laser Cutter to the craft area and get the wood lathe set up in the workshop. In the meantime we continue to accumulate shiny tools (like the long term loan of the sheet metal bender/roller/slicer, thank you Ben) and we are in the process of updating our risk assessments. In the future we will be looking at expanding the Tool Access Node system currently in use on the Laser Cutter so that more tools can be controlled.

The electrical install is mostly in place with their appropriate certifications thanks to the efforts of Adam and Tim. The final piece will hopefully be put in place on August bank holiday in the form a submain cable to improve our earthing. In the meantime we can use what is in place so far confident that it is safe and of good standard.

To improve general security a number of internal CCTV cameras have been put up. These will not be available to view outside of the Hackspace, but a select few may be presented on the Sauron screens in a manner similar to how they were before the move. Viewing of camera feeds from outside the Hackspace is unfortunately incompatible with our responsibilities to the Information Commissioner’s Office and the Data Protection Act.
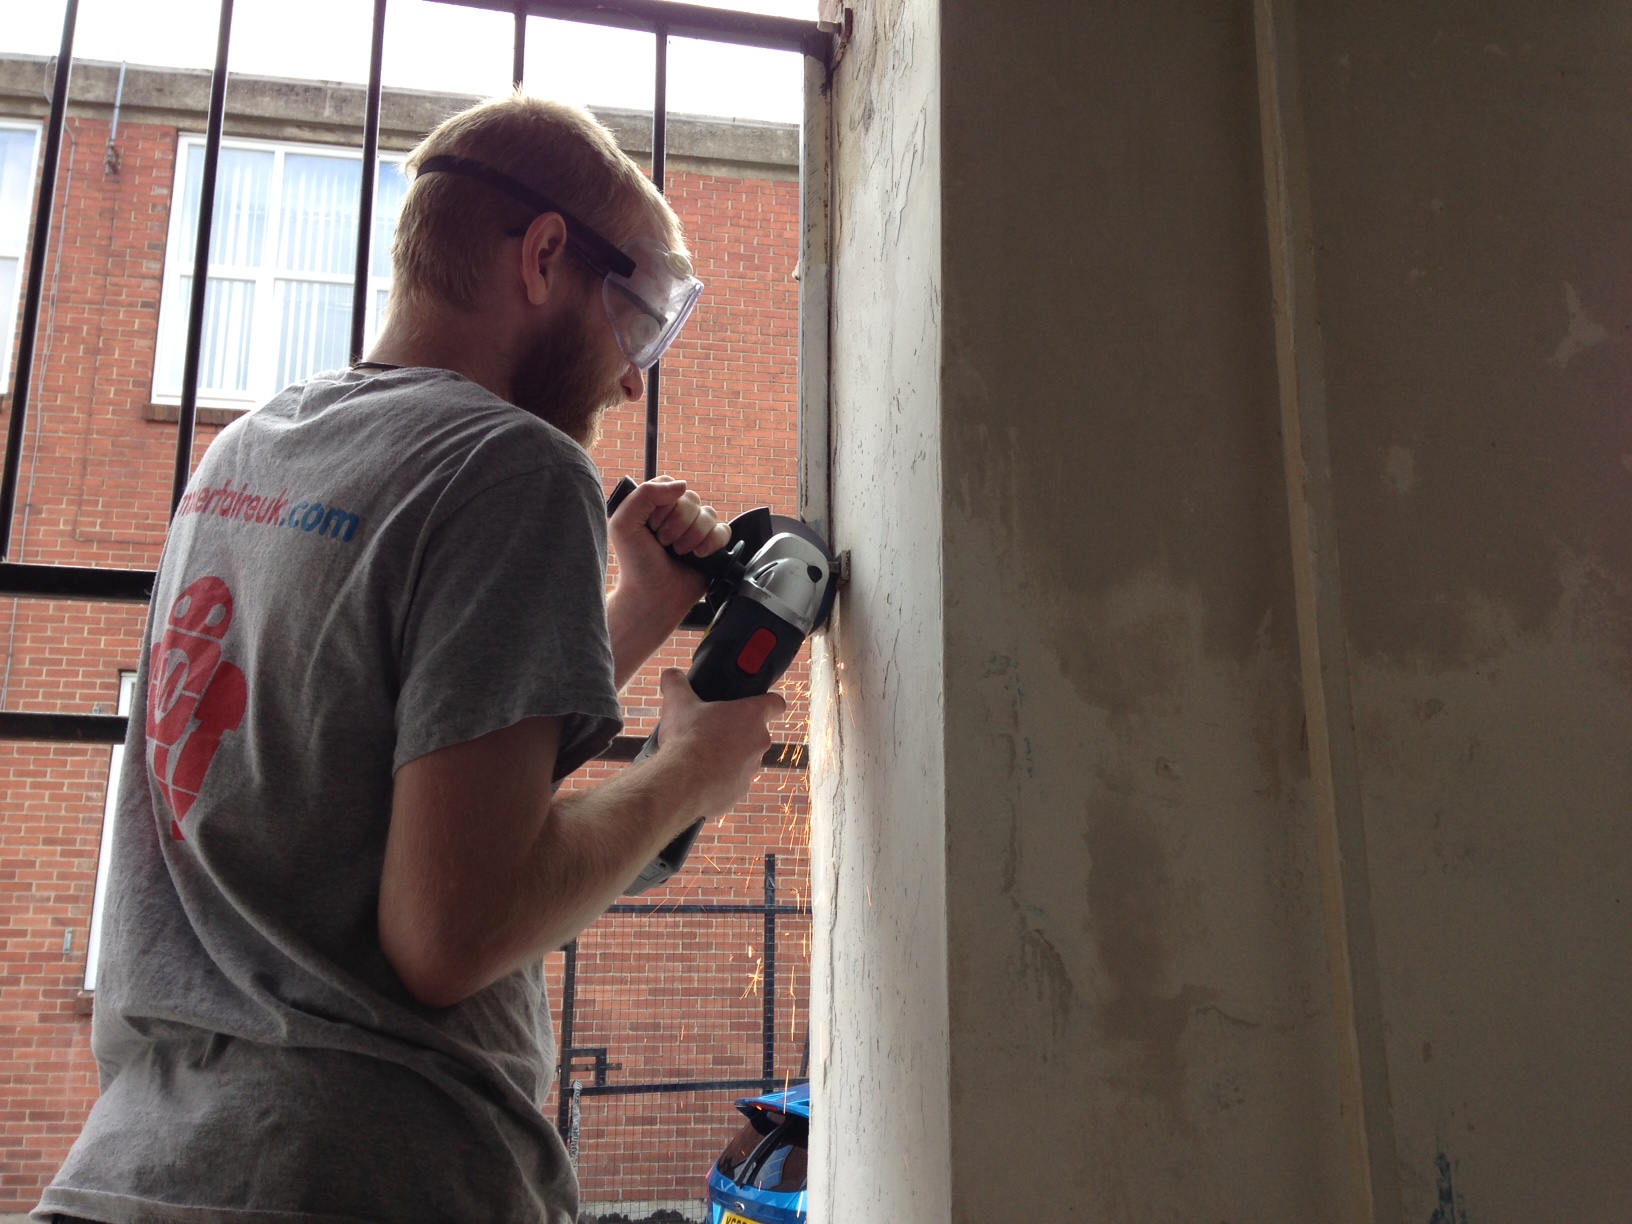
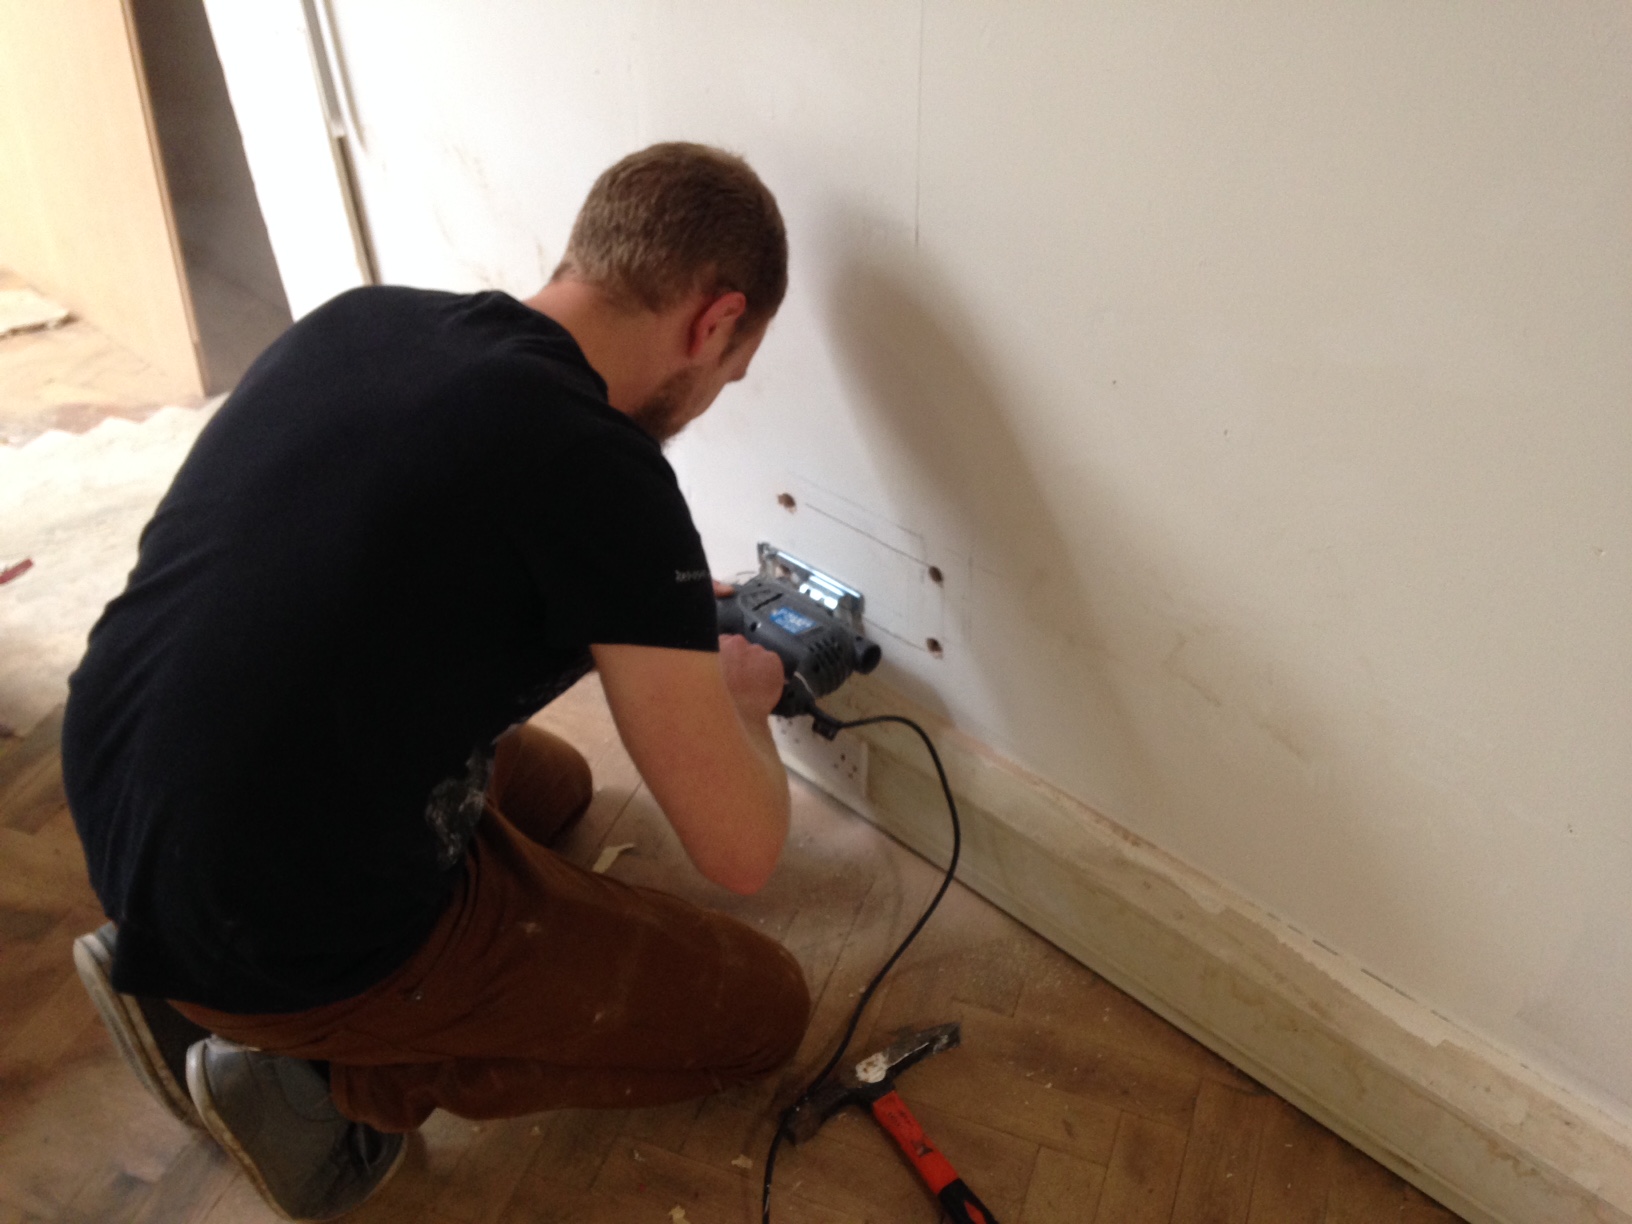
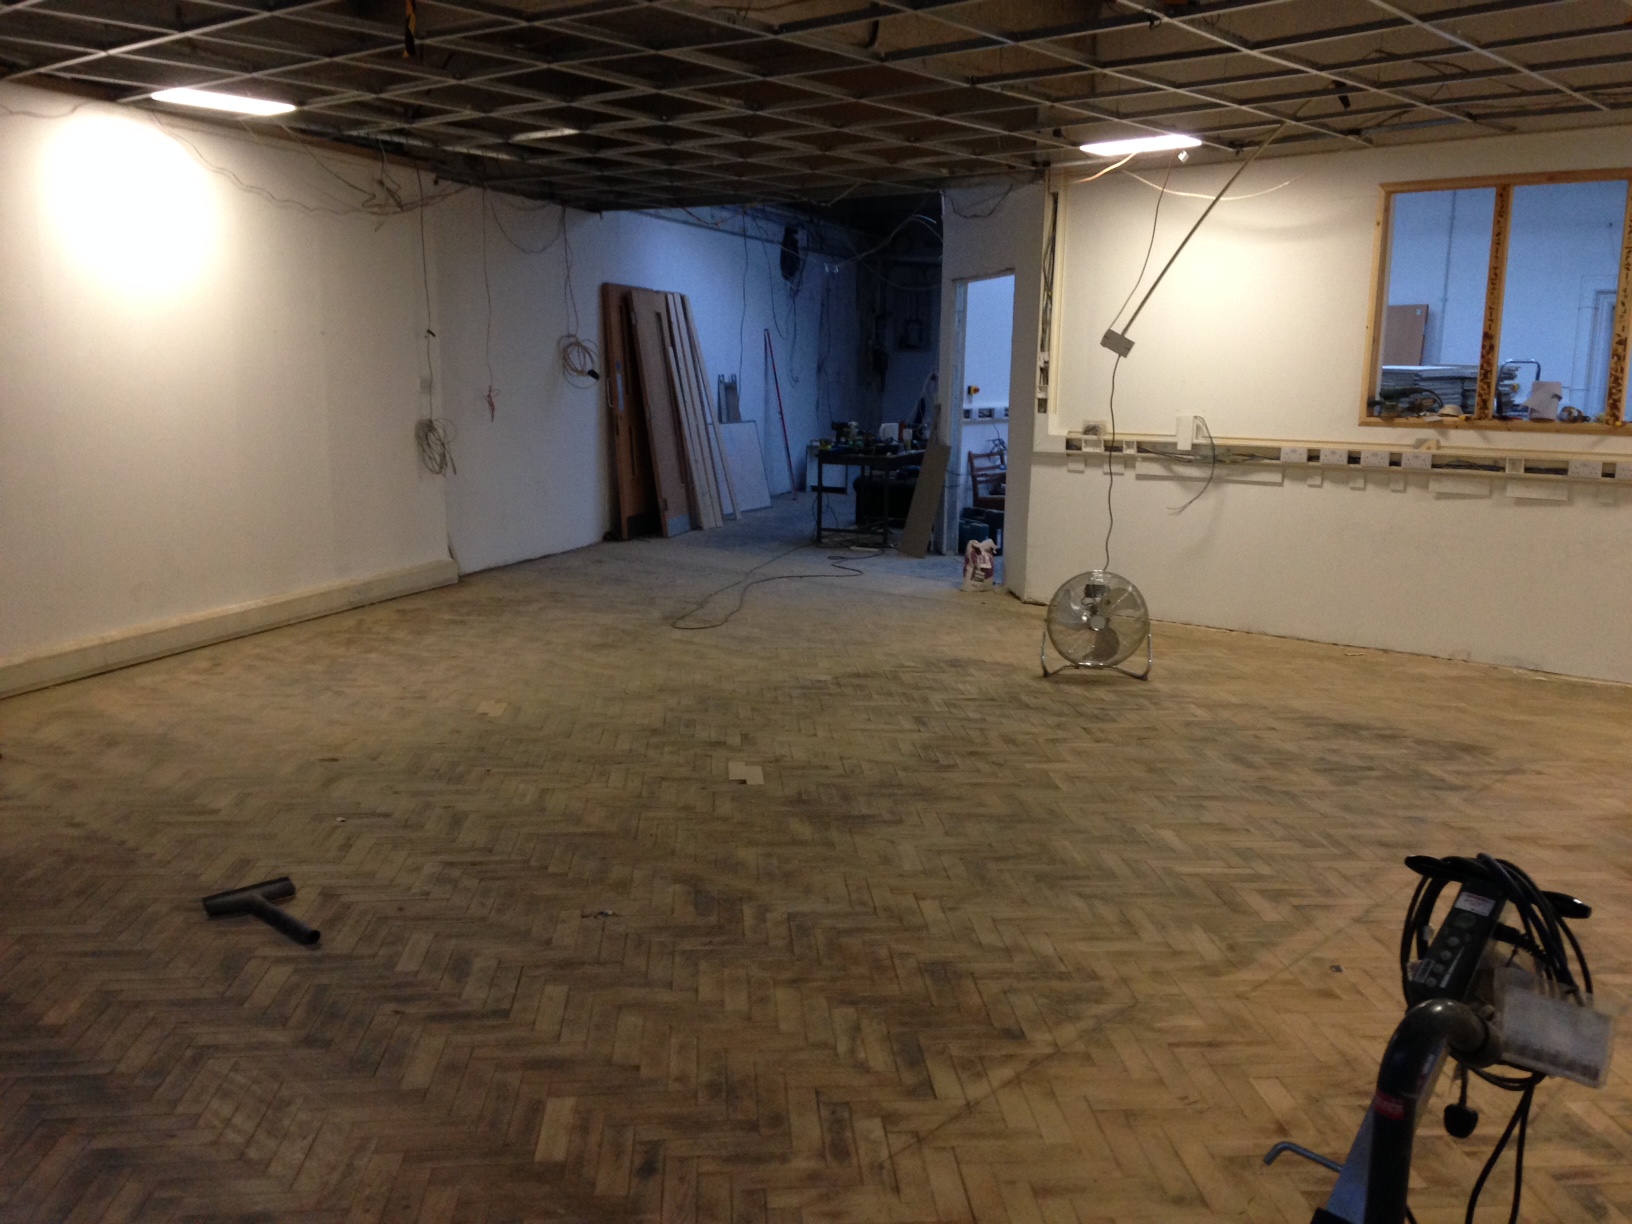
Building Works

Stephen is blazing ahead with the kitchen, and so we hope soon to have flowing water and an nice place to bake cakes and make cups of tea.

The network is being installed thanks to Nav, with only a small amount of cable-management related swearing. He has also made a start on the Darkroom. When the committee get a chance they will be taking a look at how we can manage the chemicals and waste products from photo processing in a safe and legal manner. Once that’s done we can get started!

We’re also working on upgrading the door system – thanks Callum, Alex, Joe and Fligg – to allow our bionic members to better integrate with the system, improve security and a couple of bits to make setup for new members and removal of old members easier.

Storage

The member storage system seems to be working well so far with only a couple of pieces being placed in the Big Box of Shame. For those of you with a large number of separate, distinct items in your storage please seriously consider purchasing a 35L Really Useful Box to help protect your items from loss or damage should we have to relocate anything. There are a few larger member items still in the space that Joe is working on better solutions for them.

Please remember that that flammable items (including spray paint, varnishes etc.) must not be stored in the member storage. Instead these should be labelled and placed in the appropriate cabinet in the Workshop.

Leeds Hackspace Sticker on General Waste bin

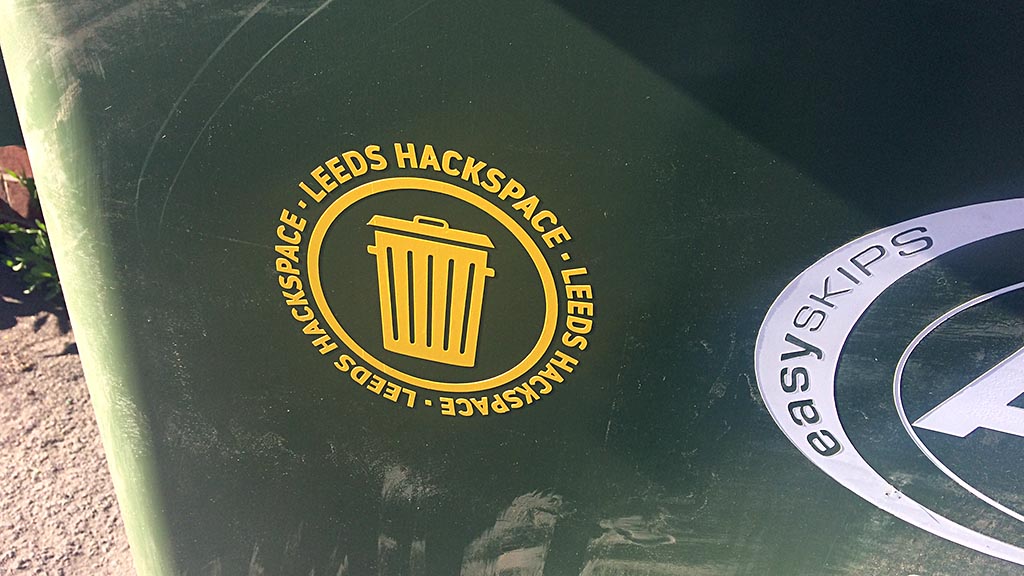
New bins have arrived from AWM – if you haven’t yet had a chance to utilise them please do. Both will be emptied fortnightly, although there is potential to increase the frequency of pickups (“lifts” as the waste management industry calls them) so do let us know if you think they are getting too full for comfort. These particular bins don’t automatically lock so please remember to do so!

The red topped bin is for general waste; the blue topped one is for dry mixed recycling. In short put plastic, metal, paper and card in the blue bin and everything else in the red one. The general waste bin has a weight surcharge on it – everything over 40kg costs a small amount extra to dispose of – so please recycle as much as you can. The Hackspace is being kept tidier as bins are actually being emptied – thank you for your help with this, it really does make a difference.

Anything else?

In terms of membership we must be doing something right as we are on the up, so again a big thank you to everyone that helps to make our new members feel welcome and get them using the tools they need. We currently have 78 members!

Behind the scenes we continue to pay the bills and ensure that we can afford to pay the bills. Thanks to the efforts of Matt and Harriet in keeping us solvent.

Can we remind you of the resolutions services offered by George and Ari if you feel things you want to change are getting bogged down or communications are breaking down with other members then we recommend contacting them. But as ever if you have any concerns you feel that need addressing or questions for the committee you can always email us or ask us via the chat room or in person.

That’s all for now folks, it won’t be quite as long until the next update.
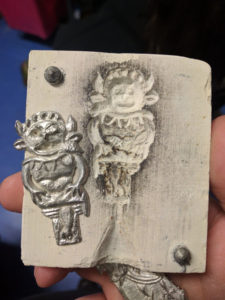
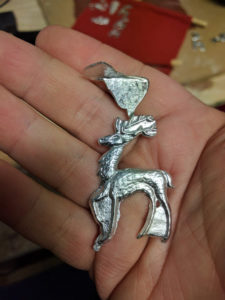
Posted in Blog, LHS Update | Leave a comment

Laser TLC #1

Introduction

The 6040 laser cutter in Leeds Hackspace has never been fully serviced.

Various types of laser cutter can be sourced from china and its always a mixed bag of what kind of components you get making up yours. The 6040 in LHS is no different, its received incremental updates but recently strange problems have infrequently occurred and band-aid fixes have been applied (both hardware and software based!)

A full TLC service for the laser was long overdue, so the service has now begun!

As specified in the google groups post, several phases were identified.

Wot is our lasor

Our laser is an older type, identifiable by its belt drive system combined with a cylindrical linear bearing on one side and wheels.  Newer lasers come with linear block bearings on one or all sides driven by screw or split belts. Our drive system is usually seen in the “mini” type K40 / 40W machines, with the others in larger more powerful units, sometimes with reduced stepper gears.

First things first

I identified the X and Y stepper motors incase they need replacing.

Y axis is a dual shaft 17HW441ON-03AD02 with standard 4 wire cable; driving a coupled shaft one end with belt gears.

X axis is a single shaft 17HW3448N-15AD with a short 4 wire cable that breaks out onto the ribbon that also carries the end stop sensors from the electronics. This stepper rides on the Y axis linear bearing – again it has the belt gear attached to its shaft. – A potential improvement here would be to use standard cabling (Amp draw over ribbon?) and/or to install mechanical end stops like this that would increase work area.

Remove the gantry frame

The gantry frame was held into the base of the laser by 4 bolts, interestingly the frame rests over the holes where the Z axis shaft bearings are; they are not level so the frame essentially is clamped down ontop of these moving shafts and never fully meets with the laser casing. – An improvement here could be to washer the frame so it has 4 proper points of contact.

img_20161027_183757

To remove the frame required the disconnection of the ribbon cable to the X axis and the stepper cable to the Y, as well as the air assist and laser dot power connected to the gantry itself via zip ties.

img_20161027_184556-1

The gantry frame is now loose and can be teased out in a specific geometric arrangement to get a square peg out of a square hole!

With the gantry frame removed we can check its construction; its made from special sections of what looks like zinc coated steel that are jointed with mechanical screws. Overall a surprisingly nice frame, lacking horrible welds and scoring points for serviceability.

The frame was checked to be square (it is!) so that rules out one of the major mechanical problems that could have been possible and have been seen elsewhere… frame buckling!

Belts and bearings!

The belt pulleys and gears look to be worn, the tensions were very wrong and the linear bearing is very “bitey”. The tension systems are very simple, but prone to wear and not the same as the ones in the newer split belt systems, they are not a great design as they rely on the pulley as both a bearing and for tension / stability. To give this context, our laser has a pully shaft of 2mm, held in tension with a single set screw: comparison below with a nice big block with ring’ed bearings each side seen on better machines.

img_20130127_161006

timing-font-b-belt-b-font-pulley-synchronizing-synchronous-wheel-for-co2-font-b-laser-b

The Y axis non linear bearing end runs on a single wheel that is free in the frame channel, no secondary bearing here!  However after a small cleanup and fine-tune the gantry was moving much more nicely, without bite: its very vital that the X axis belts are balanced closely.

A better bit of news is that the X axis power shaft is well supported by decent sealed bearings on both ends.

It would also seem that the Y axis belt clamp on the gantry head is attached on the wrong side, leading to a large angle at the extremes of motion where the head approaches a gear or pully.

The future

A full clean up and reconstruction of the gantry head, along with the gantry wheels should help get everything running smoothly again, hopefully ruling out mechanical issues for the LHS laser!

Posted in Background Info, Laser Cutter, Projects | 1 Comment

New Space Update 9: Workshop & Craft Area Floor

Blue workshop floor, with blue roof and ceiling fan

The workshop and craft area floor is somewhat delicate, and we have been diligently protecting the areas which have been covered in asbestos-containing floor screed from damage. In order to make the space safe for everyday use, and to make cleaning up after minor spills much easier, we decided to have the floor levelled (it was really bumpy, see if you can feel the remaining bumps) and covered with hard-wearing thermoplastic floor tiles.

How well this floor covering will cope with the bitumen substrate and the wear and tear of a workshop environment remains to be seen, but we’re fairly confident that it will work out well. We’re quite a low traffic environment however, and using these tiles normally deployed in schools and offices should do us quite well.

The new floor tiles, looking from the main space across the craft area towards the toilets and kitchen.

Now that we have moved in of course, the entire space looks a lot different. The blue is very vibrant, and whereas walking into the workshop was once an overwhelming experience it is very much tempered by the presence of things which aren’t blue and white. Check those pictures out in the next post.

Posted in Blog | Leave a comment

New Space Update 8: New Door

Leeds Hackspace New Front Door

Remember we picked up a new door a couple of weeks ago? This weekend we fitted it. Replacing the door was quite an important part of preparing to move into the new premises – the old door was not only falling apart and as a double leaf door it was going to be either difficult or expensive to secure in a reliable, electronically controllable way.

Removing the old door was a challenge. Old bricks meant a lot of bolts spun in their anchors and some sections of the old grating had their nuts welded on to the screw thread. We broke out the grinder.

If in doubt, don’t buy a cordless grinder. Just go with the mains. It’s cheaper and probably a lot more effective. You won’t spend half your life running back and forth between job site and battery charger, that’s for sure.

Angle-grinding off the frame

While putting up cable conduit we unfortunately dropped a drill down the back of one of the pre-existing false walls so we had to buzz open a drill-sized hole in the wall with a jigsaw to retrieve it. A quick patch up and covering with some filler was all that was required.

Cutting open the wall with a jigsaw to retrieve drill

Tim, Samson and Tom continued with the electrical installation – all the sockets are now installed. Cables are run back to the cabinet. All that is required now is to run the chunky DB to DB cables and we can start wiring in. The meter installer is coming on Thursday to hook up our proper 3-phase power supply.

The fitting of the door took longer than expected, and as such the lock was installed in a bit rush at the end of the day to make the building secure before everyone went home. Sunday’s job was to take the hacked together strike plate and replace it with something more substantial and hardwearing.

Marking out the strike plate

The strike plate being filed to make the holes straight-edged

Because our door is a little unusual in its design it required some quite drastic modification to work with our solenoid actuated lock. Not to worry though, the strength of the door will not be grossly affected by removing this small segment. The rest of the door is left intact and connected.

Fitted strike plate

There’s still some fettling to do before the door is 100% finished – it sticks a bit when opening and closing, and there’s a section of sharp pointy metal covered in tape that needs to be removed – but there we have it. Our new door, to replace the terrible rotten old wooden one. Time for some paint, and maybe some expanding foam!

Posted in Blog | Leave a comment

New Space Update 7: Sand Day

Sanding the floor with an electric floor sander

The floor. In the main space. We sanded it.

Full disclosure: It would cost a lot of money to put carpet tiles down in this space, money which we don’t particularly have right now. We might still carpet it in the future, depends on how it works out when in use!

Renting a heavy duty floor sander worked out to be a reasonable investment. It’s not perfect (thanks to the poor condition it was in at the start, and probably a good helping of user error) and never will be, but it’s a metric tonne worth of dust better than it was on Friday morning.

Sanded Main Space Floor

Posted in Blog | Leave a comment