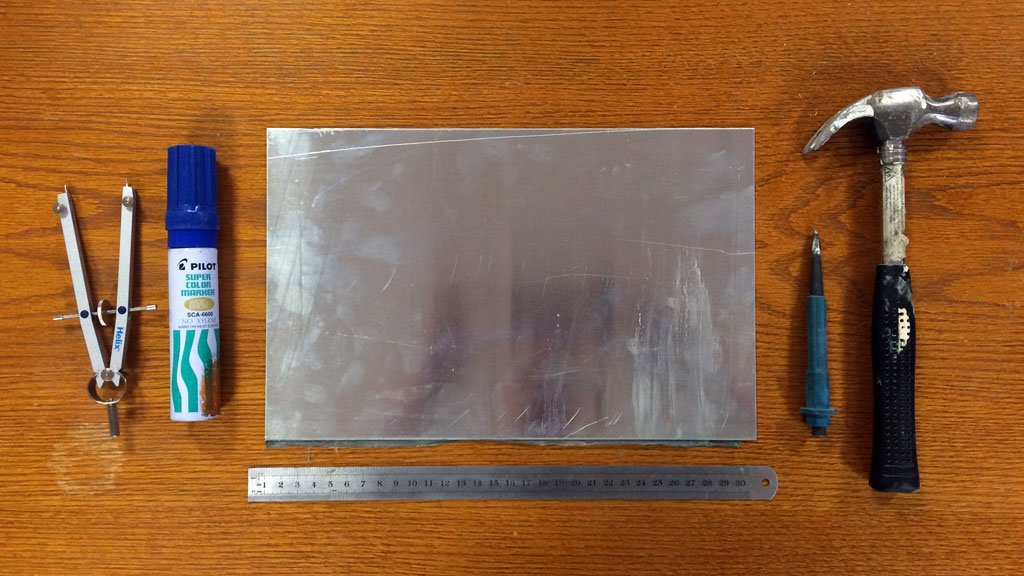
You don’t always need a CNC machine or thousands of pounds worth of equipment to get the job done. Here, we’ll be laying out a 4 hole bolt circle suitable for mounting something like a stepper motor or bearing flange using just a ruler, compass and centre punch.
Mark out your material, and centre punch the middle. This will be the punch mark for the central spindle of our motor. Scribe a straight line through the centre in the orientation that you want for the first two of your holes. This is your base line.

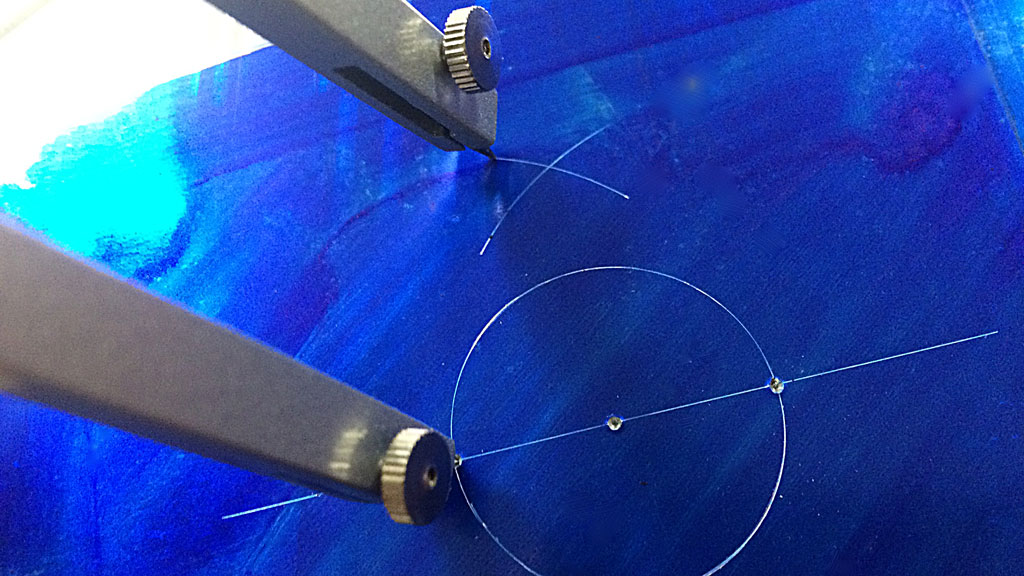
Set your compass dividers to the radius of your required bolt hole and scribe your first circle. Centre punch the two intersections of your scribed line and the circle.
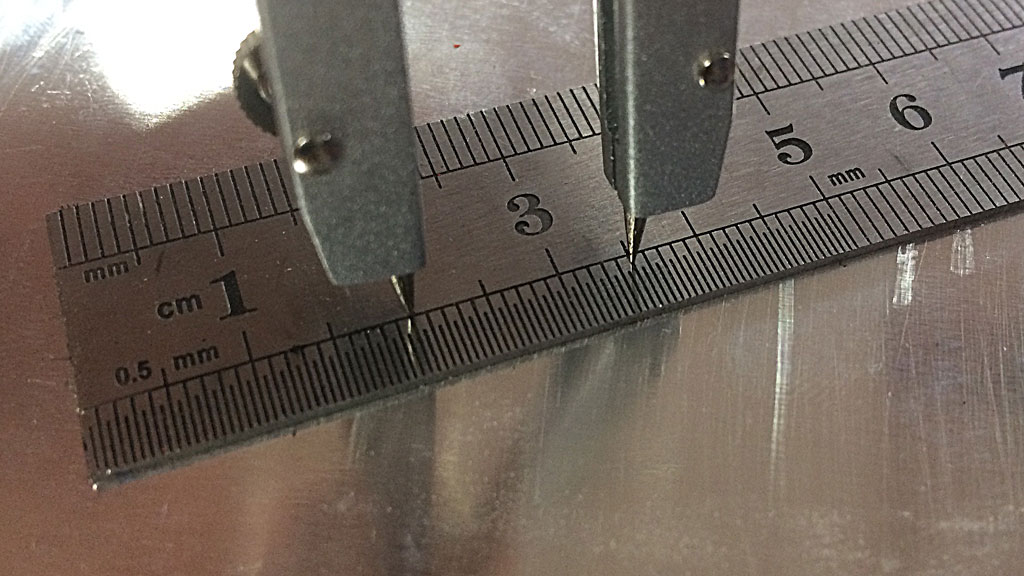
Set the dividers to around about the diameter of the bolt pattern, and then scribe a short arc either side of the baseline using each of the perimeter punch marks as a pivot.
Now that you have intersecting arcs on either side of the base line you can carefully scribe a line between them, ensuring that you head straight through the centre. Punch on the intersection of this new perpendicular line and the circle.

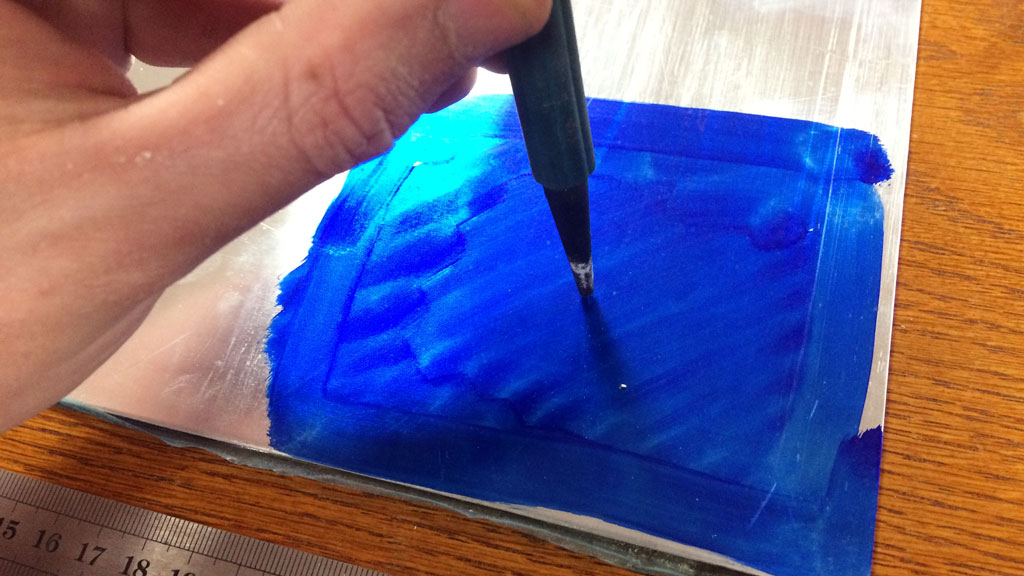
If you have a lot of further layout to do you can touch up an construction lines with the layout marker to keep the work space easy to understand. As with all these sort of things the amount of care you take when placing your punch marks, and setting the compass width, directly influences the quality of the end result. Use a magnifier if you need to!