I wanted to 3D print a part for a remote control car, I had recovered it from a skip from the back of my house and someone had super glued the steering to a metal shaft connected to one of the wheels and that shaft was meant to move freely. It had broken.
Sure there are simpler solutions than 3D printing a part, but being a member of Leeds Hackspace with a MendelMax readily available I figured this was a good time to learn. So my next problem was getting the model from meatspace into cyberspace.
So there’s two choices, I either 3D model the piece of plastic by hand, using OpenSCAD, Blender, 3DStudio Max, etc. Though there are two problems to that. One is that some of the software costs money I don’t have, the other is I don’t know how to use them. Especially Blender, ugh. Or I 3D scan the plastic to mitigate the majority of the modelling and just alter it afterwards, which is possibly harder but the thought of tinkering with electronics and distracting myself from learning a 3D package was too tempting.
3D scanners are expensive. You can get fancy hand-held ones for $900, I’ll let you do the Google search. So I wanted to make my own, why not?

I have no idea what I’m doing
I have no idea what I’m doing, after talking with a number of people from the Hackspace the best idea was to go with a laser and webcam combination. At this stage I was interested in what was available for free on the internet to use as a basis for making a 3D scanner. So I searched off for software, in the Hackspace I have sufficient hardware to do the job, a member bought a bag of 50 lasers with the intention of attaching them to everything (why not?) and constructed some laser-sights for nerf guns (the maverick in particular).
The webcam we had left over from the Hackspace versus Pumping Station 1 competition with the Beaglebone Black in 2013, a Playstation Eye from the PS3. So I felt that I was off to a good start.
After searching online for a while, I happened upon MakerScanner, free open source software that’s available on github, low and behold it also uses a PSEye and laser, even better is that it has the parts/frame available as a thingiverse download.
The software, written in C++ is painless to download and compile if you’re running linux. I run Debian Wheezy on my personal laptop, so visiting the github , downloading a zip (there should be a button for it) rather than cloning the git repository made it even simpler. Extract, follow the instructions on the page, run.
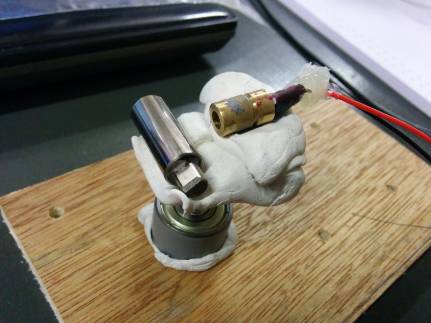
I had a problem, I had a laser pointer, but I needed the laser in a form that was useful; a line. Similar to what you get from a barcode scanner at the supermarket. White-tac and a bar of metal which was recovered from a printer came to the rescue!
 Laser mounted white-tac! |
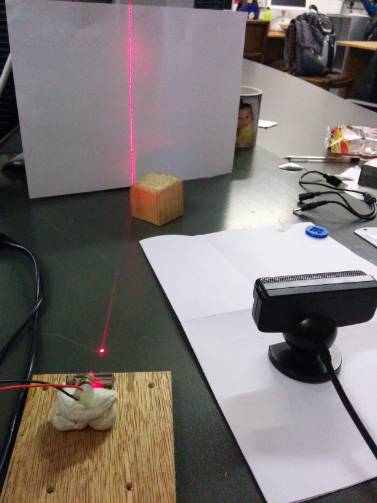
 Beam test |
When the laser was shone at the metal bar at about 45 degrees, the reflection was a nice, sharp, clear line. After trying it by hand, the white-tac was piled up to support it. What you can also see in the photo is that the white-tac was affixed on top of a bolt, that was sat within some metal rings (actually bearings if I recall correctly) just so that we could rotate it in situ. It wasn’t graceful, but it worked!
 Scanning! |
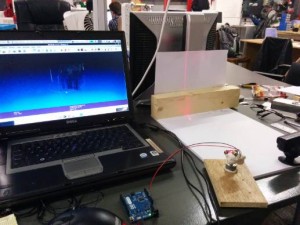 Scanned! |
Suffice to say, I did get readings. MakerScanner creates an RGB coloured point cloud from the scan, but I also had a lot of noise in the scan. I attribute this mainly to the scatter of the laser from the metal bar, which if I was to use in future then I would put a filter on it to ensure a clean line. Though I would ideally get hold of a proper lens that should produce the same output. The other reason for the noise was partly reflections from the table surface I was scanning on, the paper helped with this.
However there was still a lot of mess on the point cloud, by mess I don’t mean scattering but it appeared that some points were either being misplaced or calculated incorrectly. I couldn’t tell if this was in software or if it was just dodgy hardware.
I think that I need to narrow down my variables and try to acquire some decent pieces, though I don’t have a lot of money to do so! I think being self contained would be useful, but having seen some hand-held 3D scanners then I’d rather go in that direction.
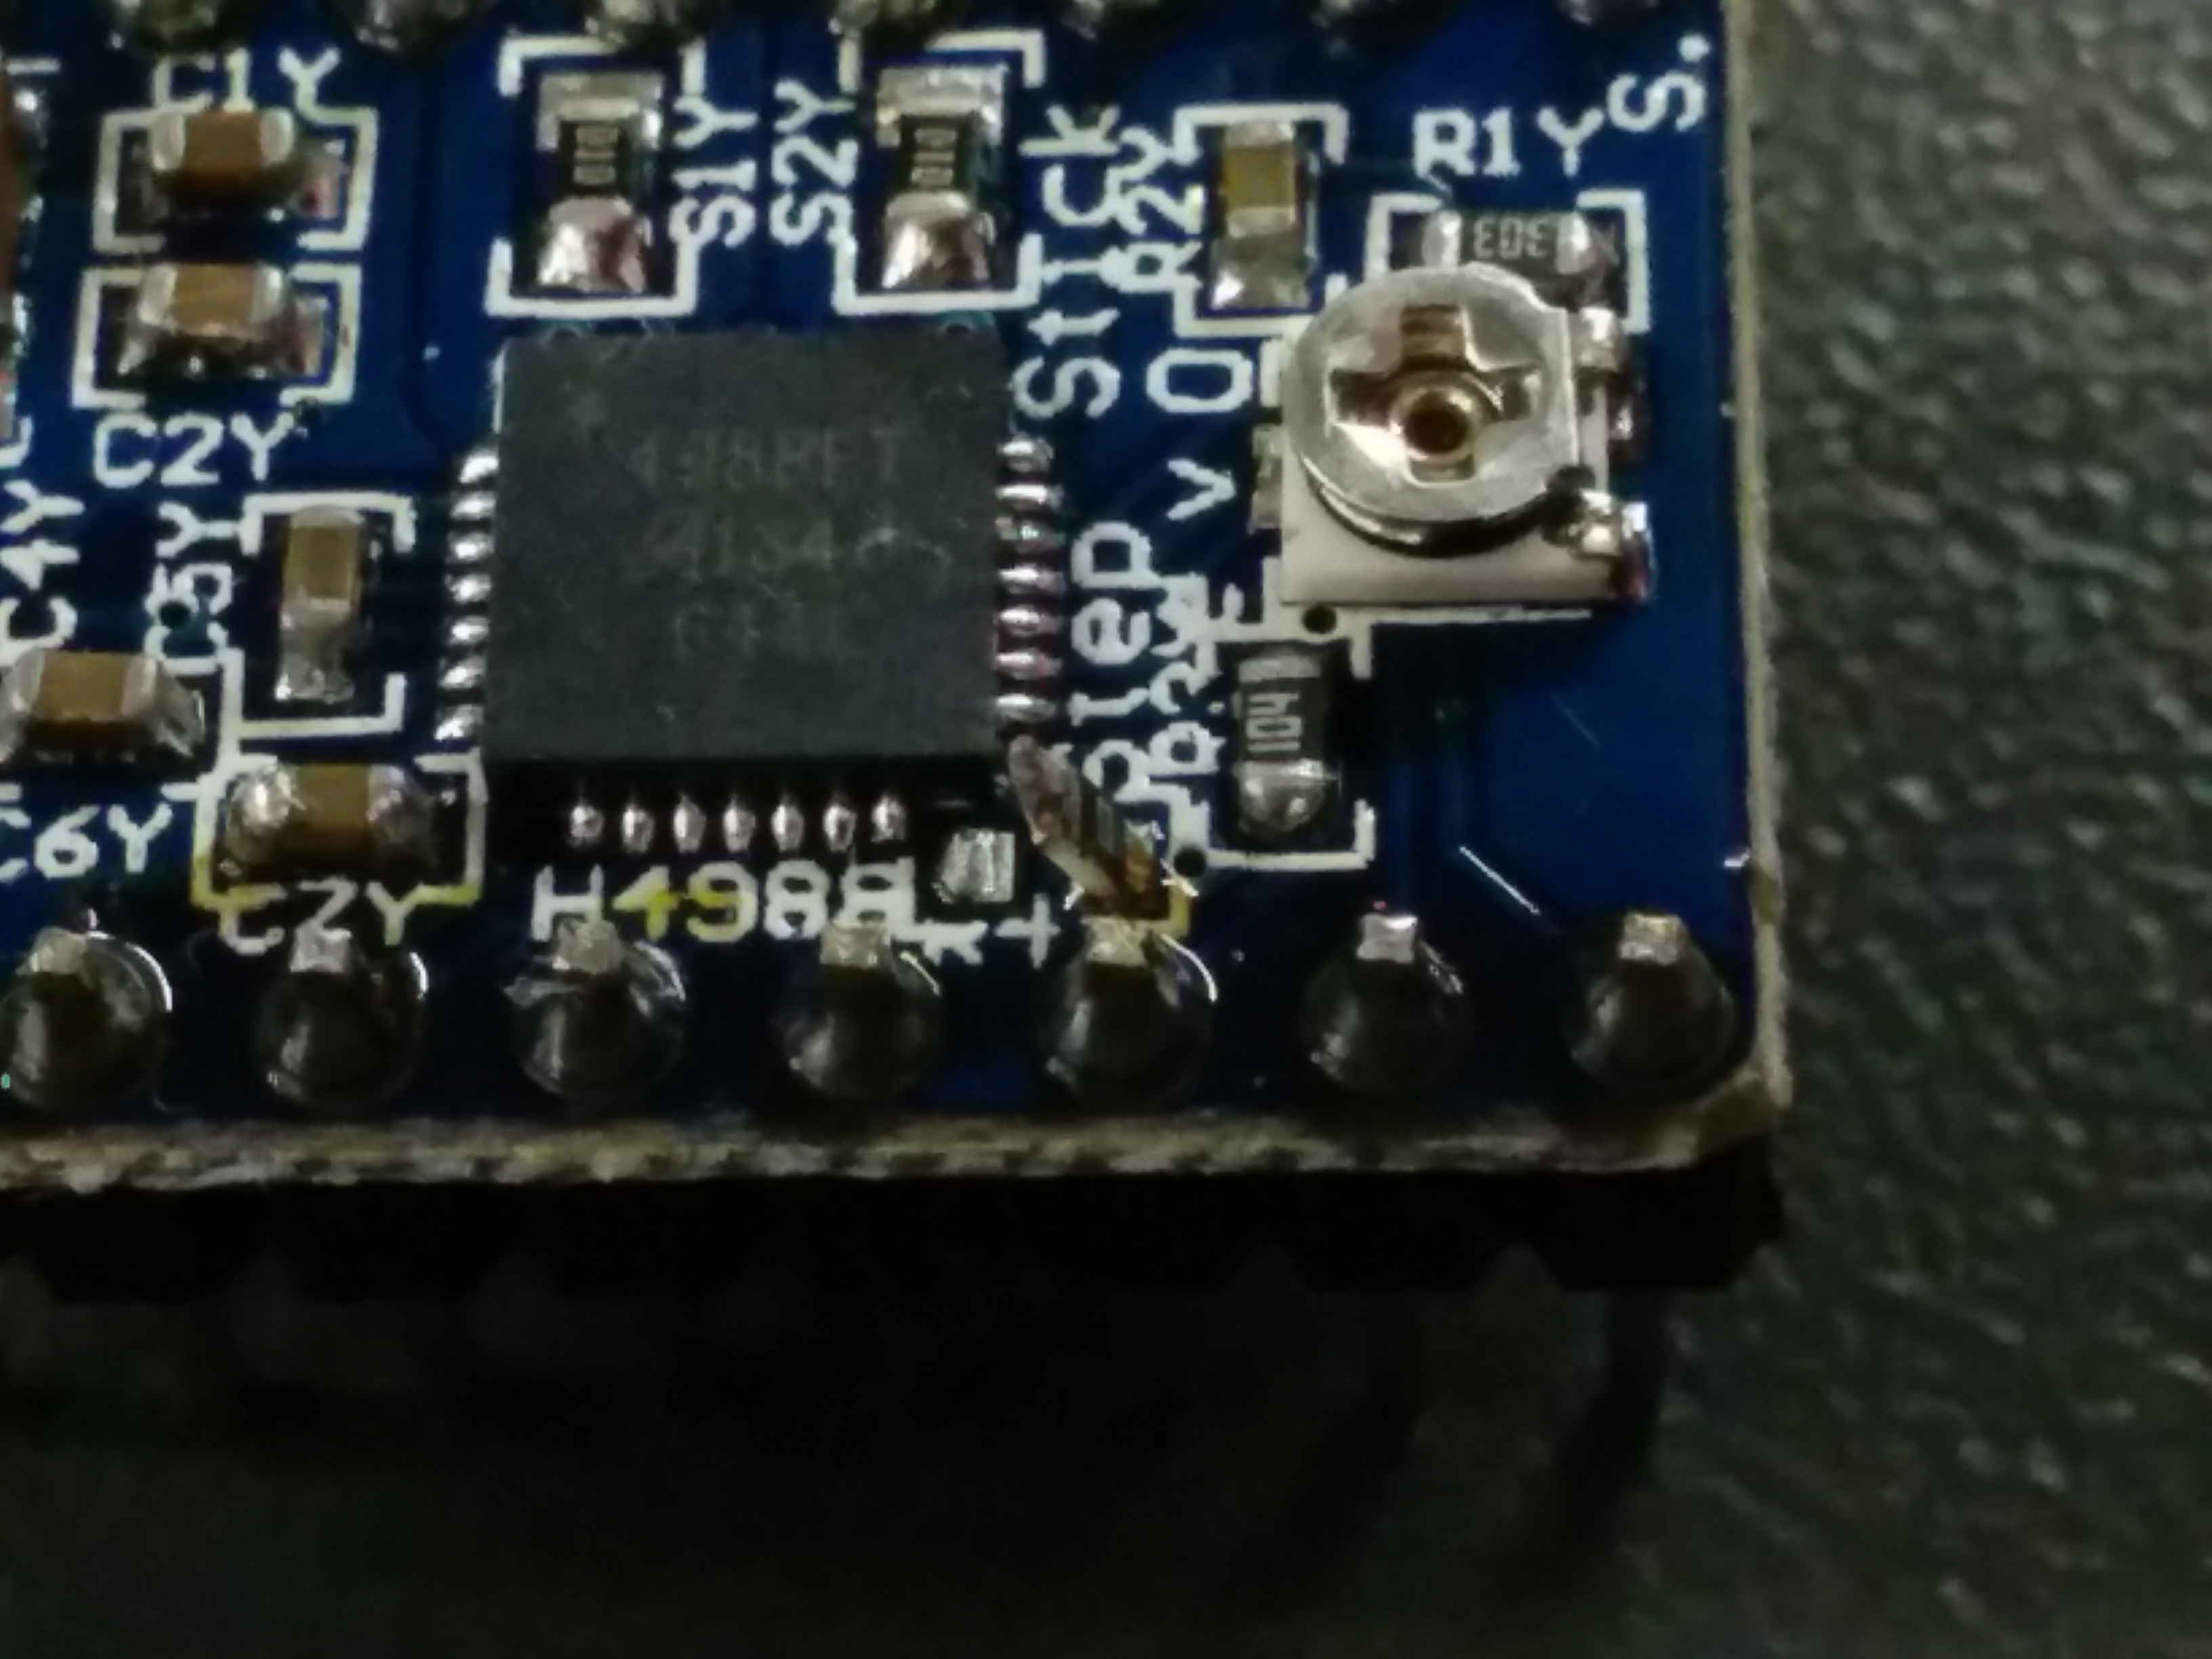
And yes I did just use an Arduino to power the laser, lazily.
Any feedback/questions appreciated.

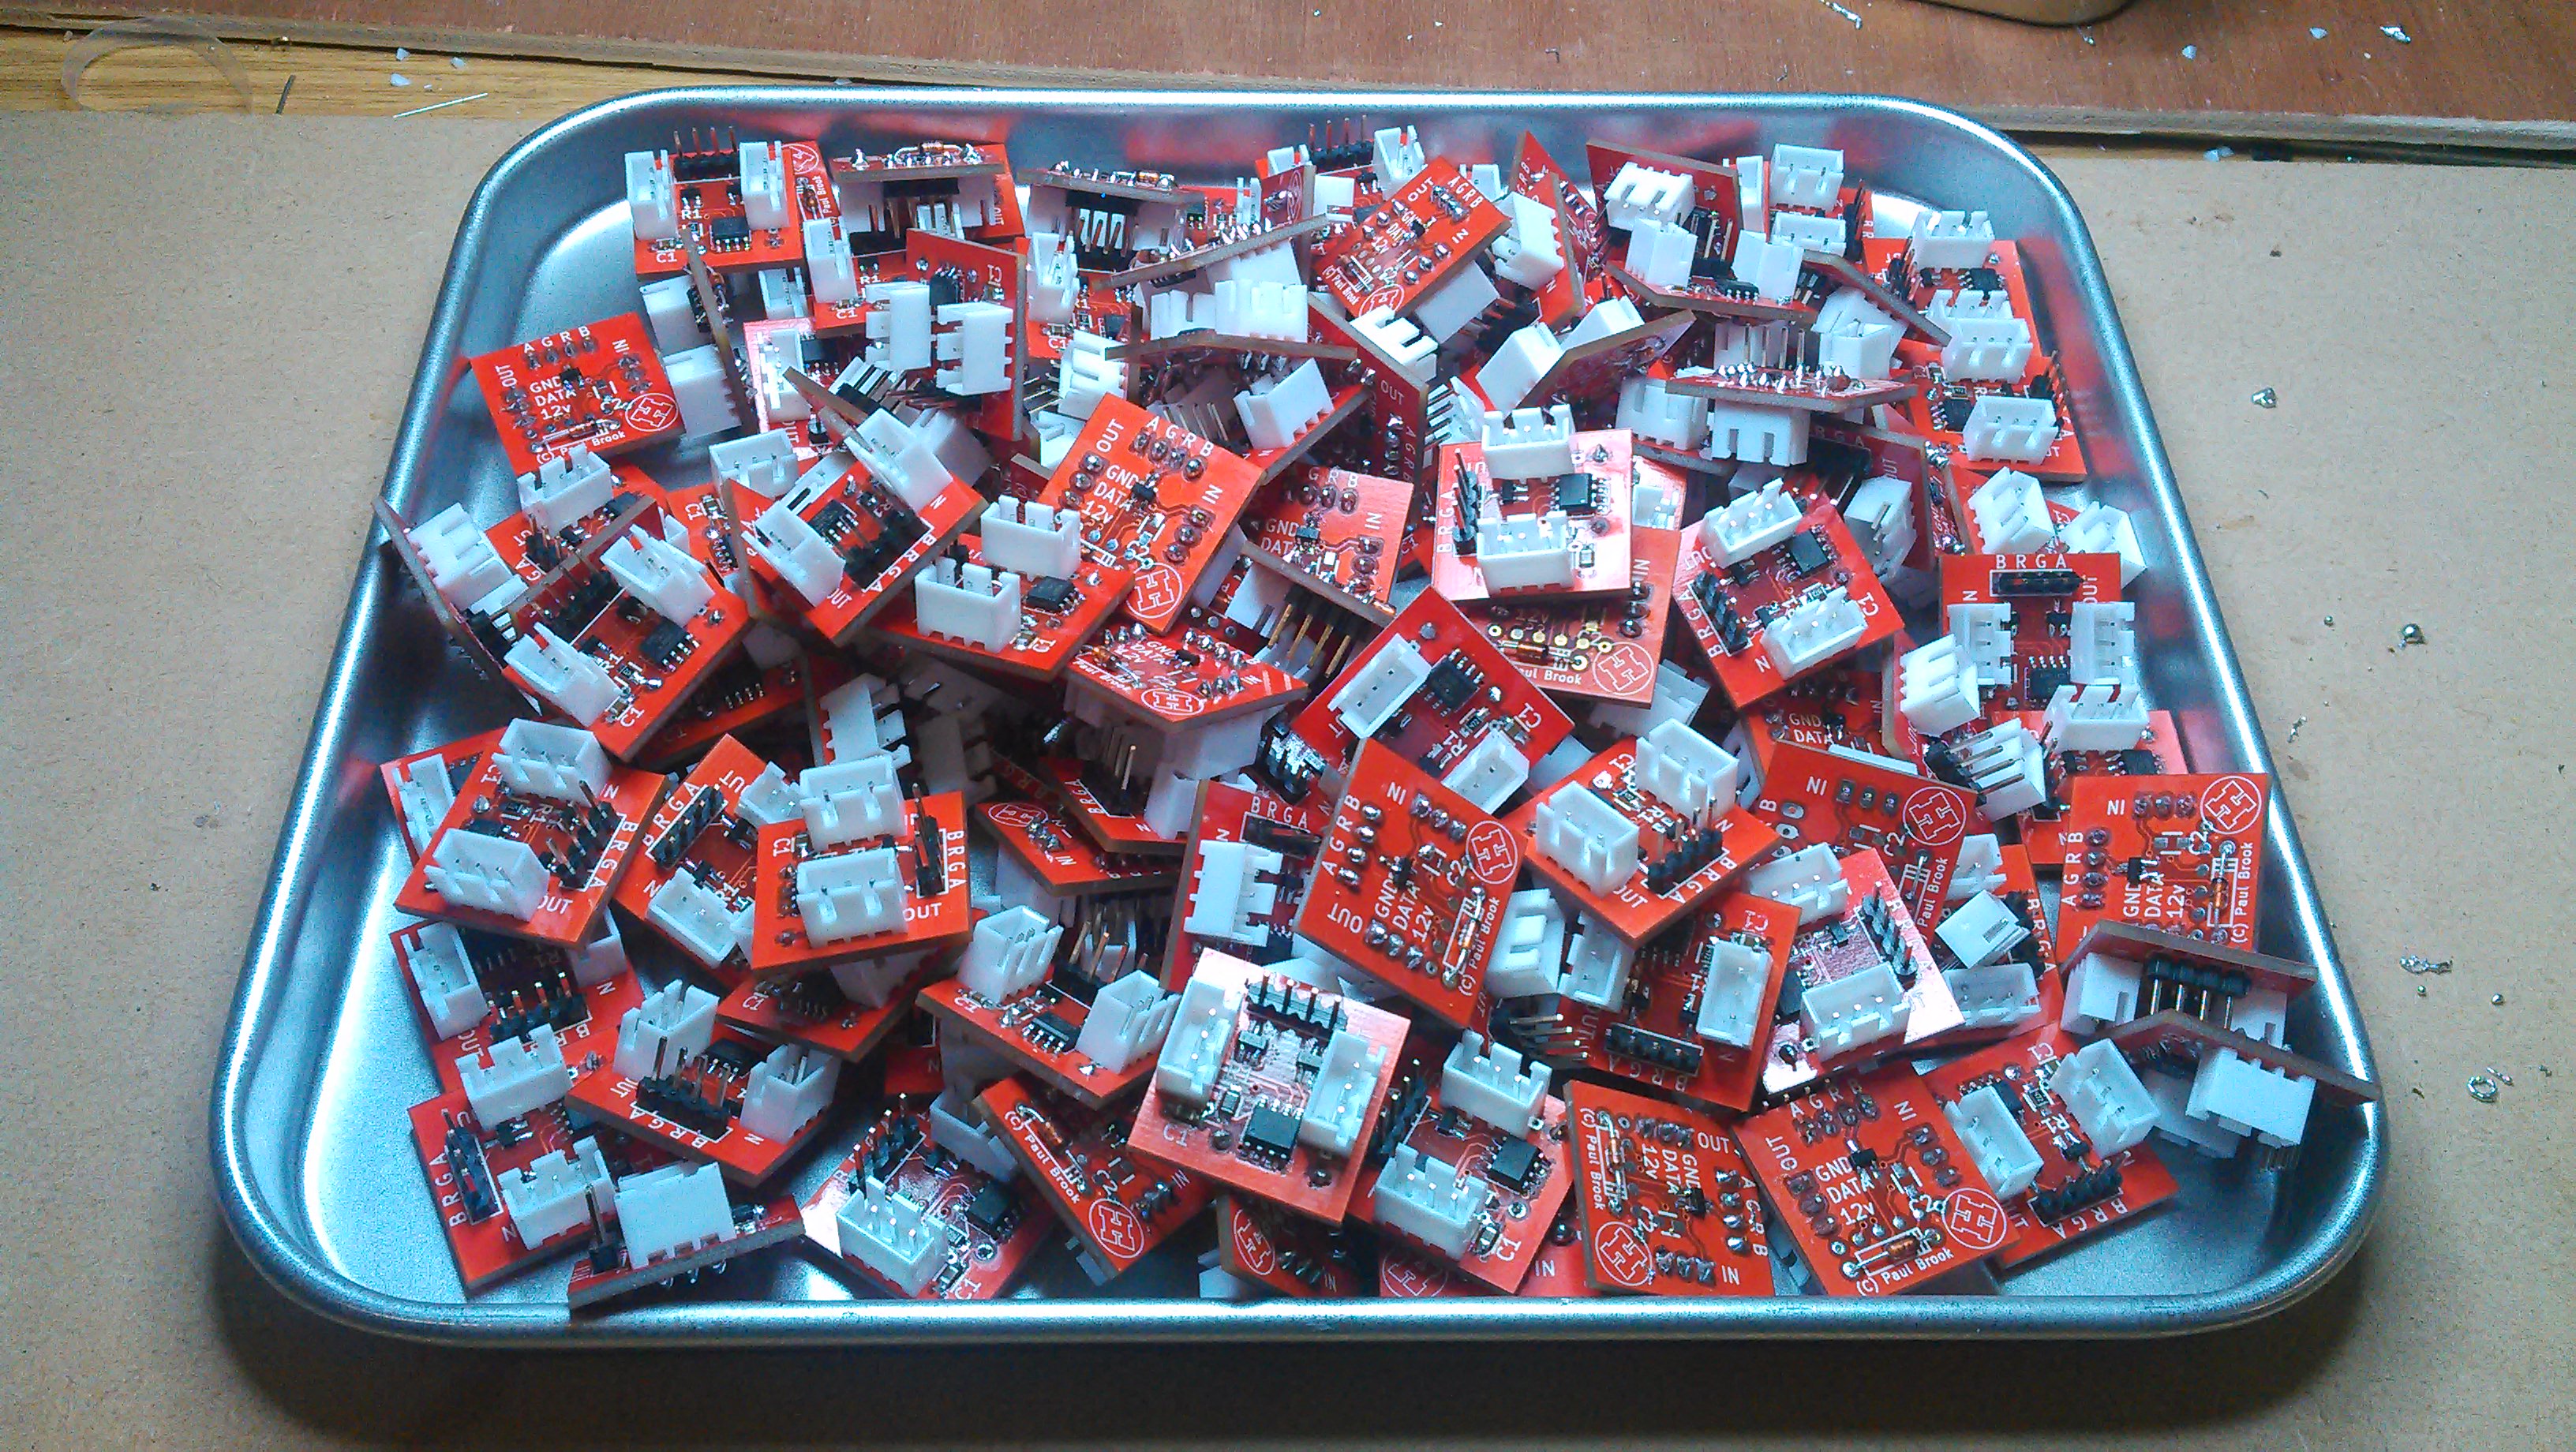 Our lonely little circuit board now has 511 friends and Light Night is fast approaching. Construction continues.