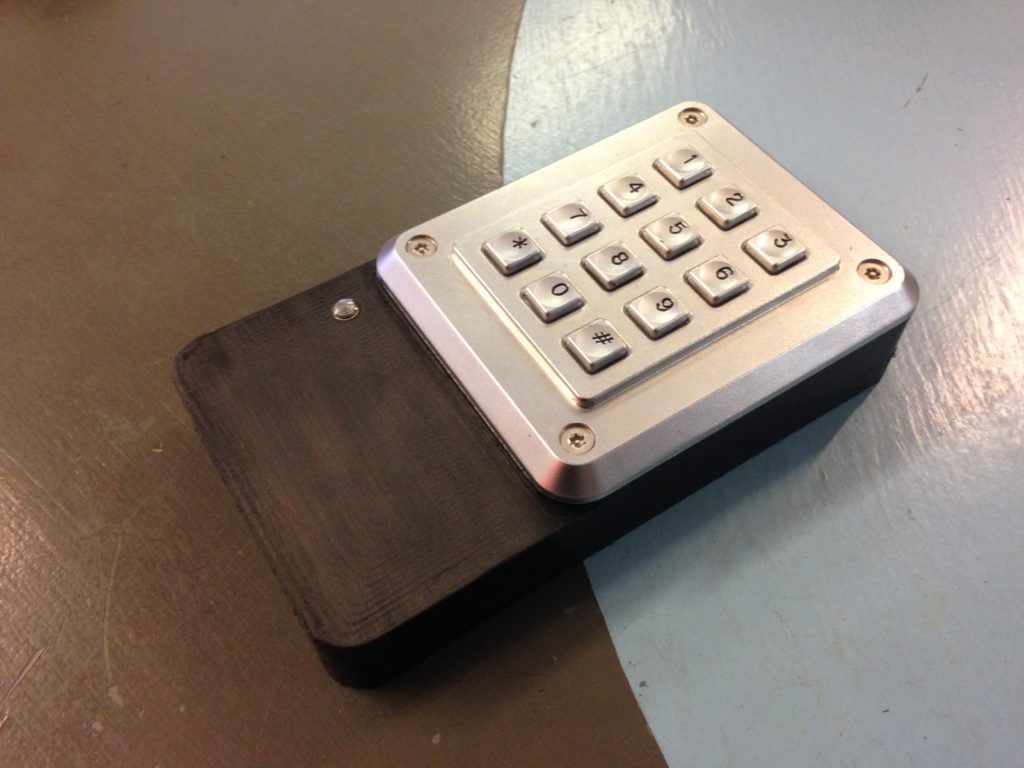
We need a new keypad for the new space, and a custom made enclosure seems just the ticket. The current wood-and-hot-glue RFID reader has served us very well over the years but it’s looking likely it will stay where it is when we move out. We’re working out some kinks with the CNC at the moment so the outer edges aren’t the prettiest but the functional surfaces work perfectly.
There are two pockets – one front and one back which contain the electronics. The back pocket brings the RFID reading ciruit close to the circuit so it can read access cards reliably and the front pocket will hold the port expander and LED circuitry.
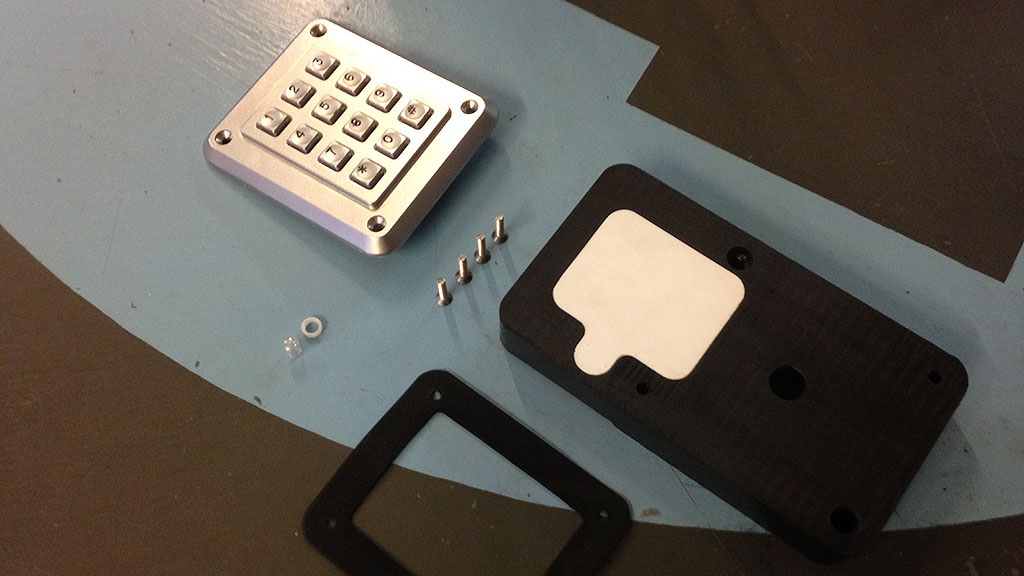
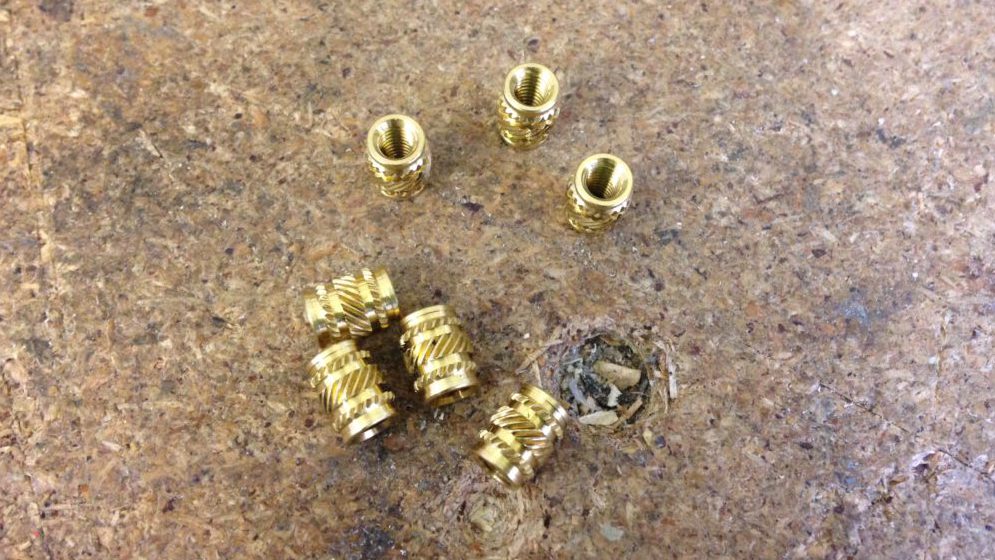
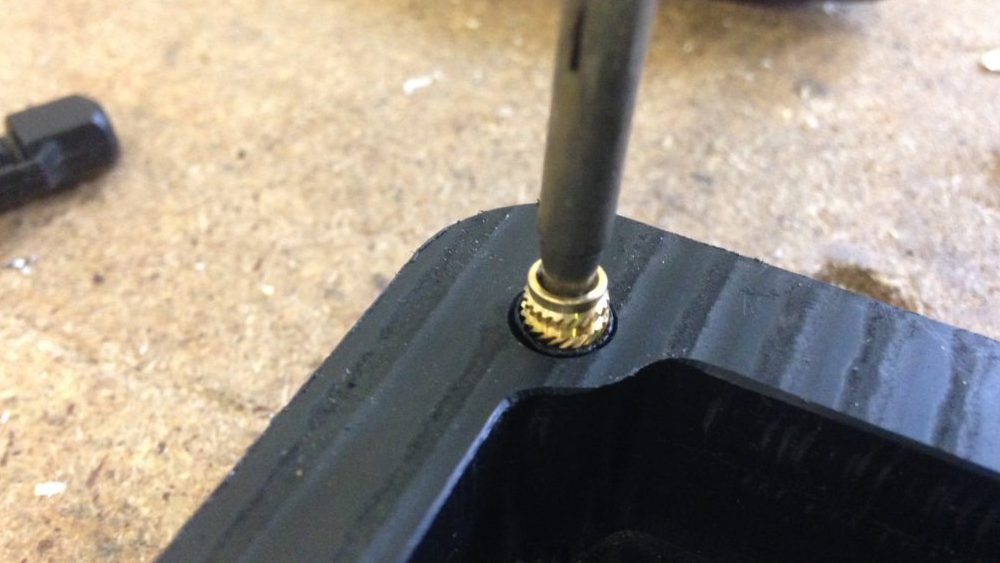
The front panel is held on by four “security” torx screws which thread into plastic “nutserts”. These brass widgets are melted into an undersized hole and provide a very sturdy tapped thread for repeated fastening and un-fastening. They are melted into place very simply using a rubbish soldering iron grabbed from the shelf in the Space. A generous counter-sink lets the ejected plastic sit below the surface – any excess can be easily trimmed off with a craft knife.
Don’t tighten the screws too hard, or the insert will spin instead of letting the screw undo. A torque setting of “7” or “8” on a cordless drill is plenty powerful enough. “14” is far too strong, don’t ask how I know that.
Next up is the electronic hardware.
