Warning: This stuff is literally hotter than boiling water and if you don’t pay close enough attention and let it get too hot it can catch fire simply because it didn’t like the way you were looking at it.
Always be incredibly careful, have a fire blanket nearby (not a fire extinguisher) and try not to breath any fumes that come out of the fryer. Working outside would be a good idea.
CNC machining has a steep learning curve. To help everyone get the most out of the new machine we’re making some machinable wax – paraffin wax with plastic (LDPE) mixed in – to use during inductions and for test cuts.
There are many advantages to using machinable wax. It’s cheap, easy to cut, holds a nice finish and the chips can be recycled by melting into new blocks when used up. The disadvantage is that it can be quite expensive. Which is where DIY comes in.


The cheapest deep fat fryer from Argos was acquired (at a cost of £13, 422/7906) along with some plastic lunchboxes and a ladle from the curiosity that is Clas Ohlson. I’d recommend skipping these, to be honest: the tupperware didn’t have a flat bottom and I broke the ladle.
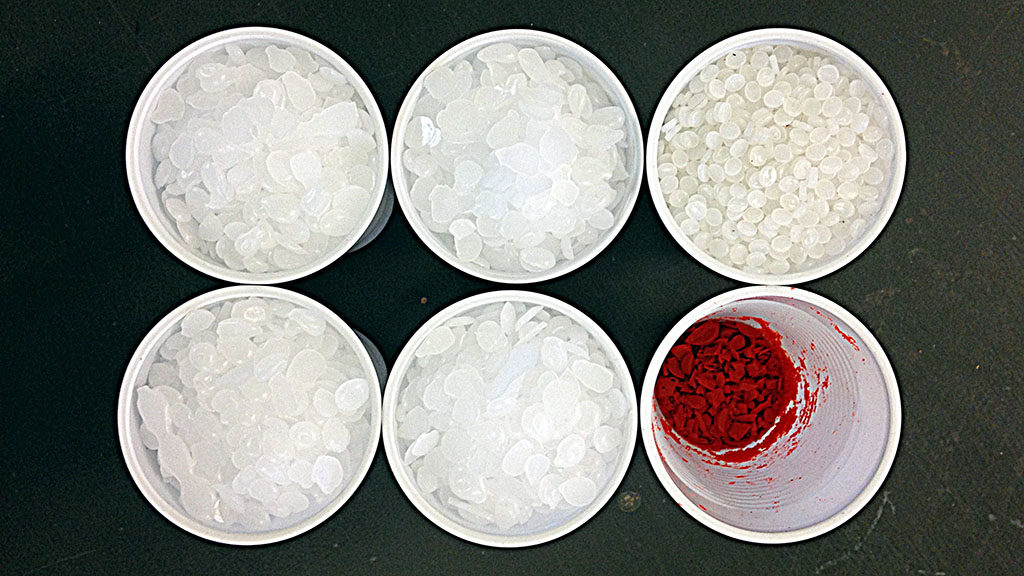
We’re using the machinable wax recipe from instructables, which calls for 4 parts paraffin wax to 1 part plastic. In this case, we are using LDPE pellets from eBay and paraffin wax from the local Fred Aldous.


The wax melts almost instantly but the plastic pellets take a lot longer to disintegrate. Forming a gloopy mass in the bottom of the fryer careful stirring is needed to speed up the melting process – careful in order to not scratch the non stick with the poorly chosen implement, and more importantly because the wax and plastic is a skin-searing 130 °C.
After about 45 minutes of ‘gentle’ heating the LDPE and the wax have become one. The entire mixture is noticeably thicker than the original melted wax but nowhere near as lumpy as when the plastic was still melting. The texture is somewhat homogenous at this stage as well.

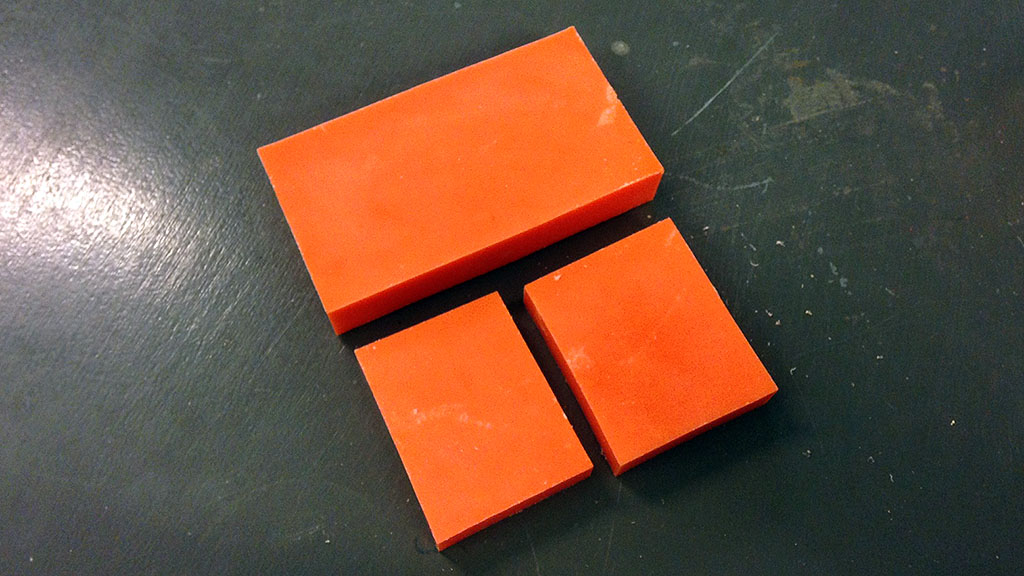
Now’s the time to add the colouring. Orange wax crayon looks pretty bad-ass, but we literally have an entire rainbow of colours to choose from next time. This wasn’t quite thought through entirely though as when we come to melt scraps from different batches together we will inevitably end up with brown.
Once mixed thoroughly, it’s pour time. There aren’t any photos of this stage for obvious reasons but in the end I gave up with the ladle and poured straight from the unplugged fryer. As long as you commit with the pouring it’s easy to get a good flow of boiling hot molten wax into the moulds.


The moulds we used in this first instance worked perfectly in terms of standing up to the heat, but not so perfectly in that they don’t have a flat bottom. The second batch we ran a few days later used a £2 metal loaf tin from ASDA. While it took a lot longer to cool down the result was a very flat base: one less edge to trim on the bandsaw.
It’s relatively time consuming to make given that the fryer needs to be monitored for impending fire but the raw materials are very cheap in bulk. The end result is much more brittle than say, a candle.
The wax is currently pending an in-depth test on the CNC machine, watch this space to find out how it performs!

We made some wax blocks at the Manchester FabLab for the mini iModela. We used an acrylic box but the shrinkage when cooled on the top side meant we ended up making a box where the smallest area side was uppermost and open just to reduce the bandsaw cutting.
The acrylic box does leak at the crenelated joints but electrical tape stops most leaks and for five out of six edges we have smooth wax blocks.
I’m keen to try this: how did it perform?
It worked really well actually. It cut much more quietly than some HDPE I’ve cut recently, and the surface finish was excellent with a two flute straight cutter.
I tried this tonight but bought the 2nd cheapest deep fat fryer (£18) as it had a 2.5l capacity. Big mistake! Just a tip for anyone trying this: make sure the fryer doesn’t have a “cool zone” feature, as the pellets end up under the heating element and need scraping out constantly. The £13 fryer in this write-up looks much better in hindsight as the heating element is separate.
interesting, would somebody please post some pictures of machined parts to get a better idea of the surface finish.
http://imgur.com/a/6sFae
Don’t ask me the speeds & feeds though, I can’t remember! It was a straight flute bit. Probably about 700 mm/min. I’ll grab some more pictures in the future.
Faced, pocketed and profiled with tabs.
A